Note: This first post appears to all happen in one day, but in fact, took place over a week and a half. Future postings will be more current.
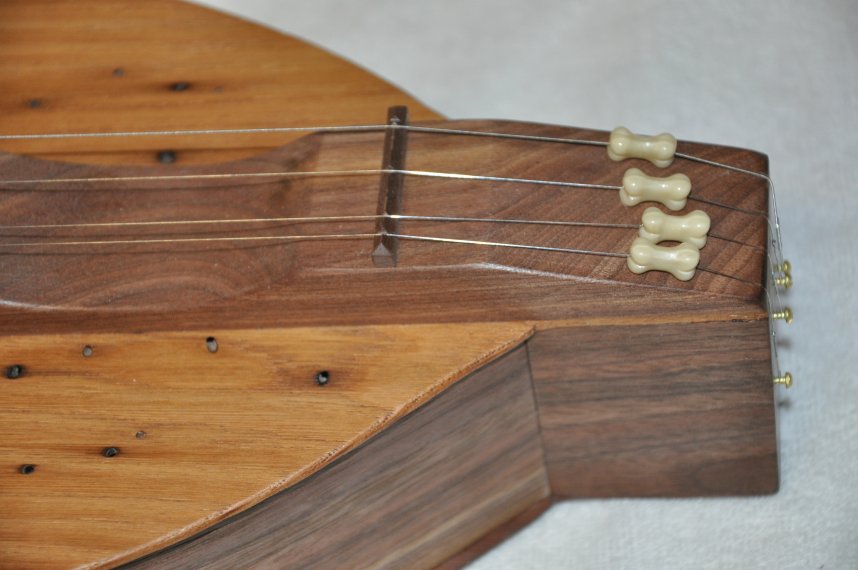
Most recently. I have been commissioned to work on a “problem” dulcimer. The “fingerboard” on top of the oak fretboard was actually a dark stain.
The main problem, however, was a 6 1/2 fret that was added after the fact. The crown of the fret appeared to be too high. It was ground quite flat, but still caused a great deal of string buzz.
I removed the frets,
and the clunky string guide,
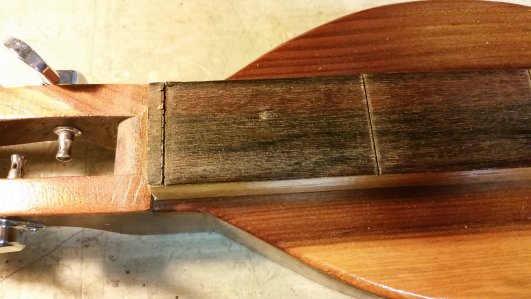
and began the process of sanding and flattening the oak fretboard.

The fretboard is sanded flat and level.
Nice and smooth…
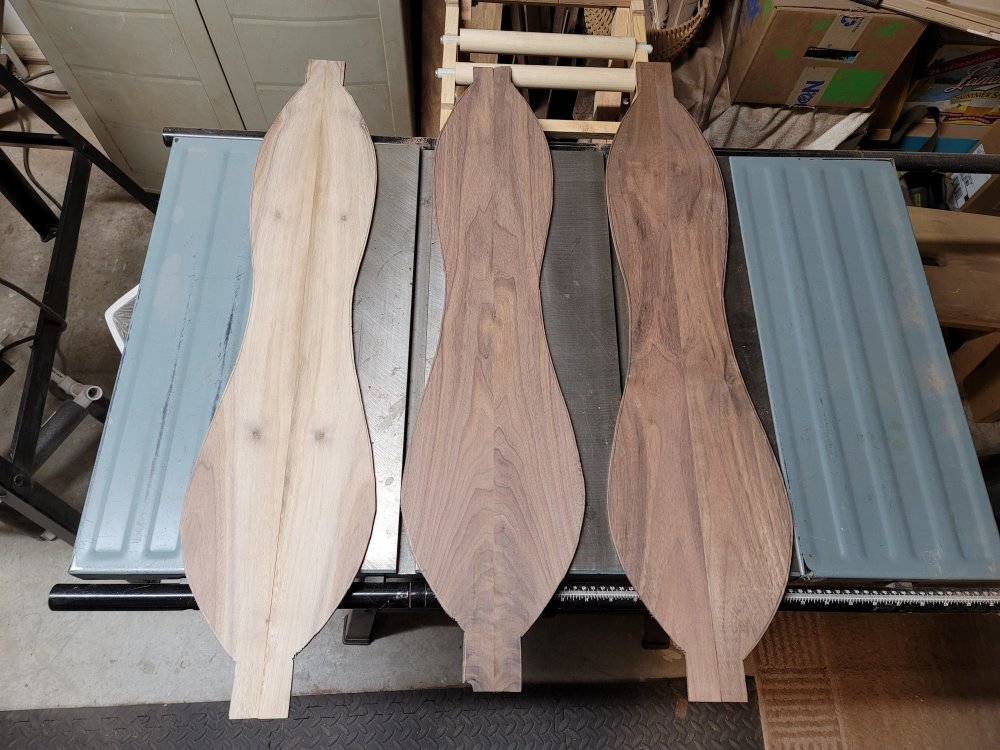
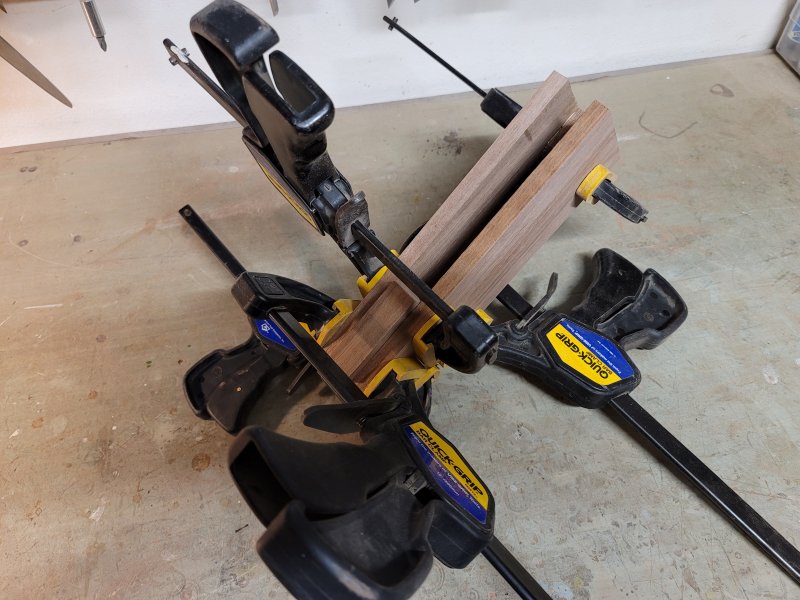
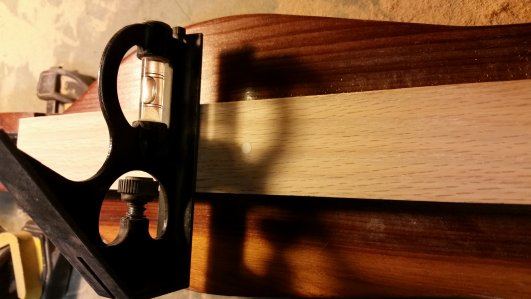
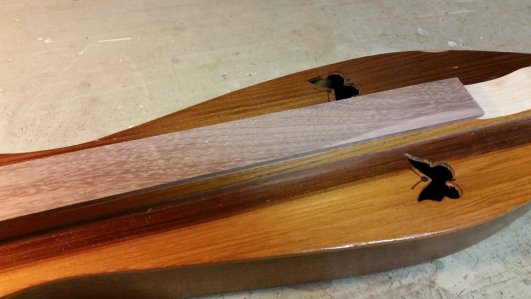
This is the new fingerboard before preparation.
The prepared fingerboard awaits new frets.
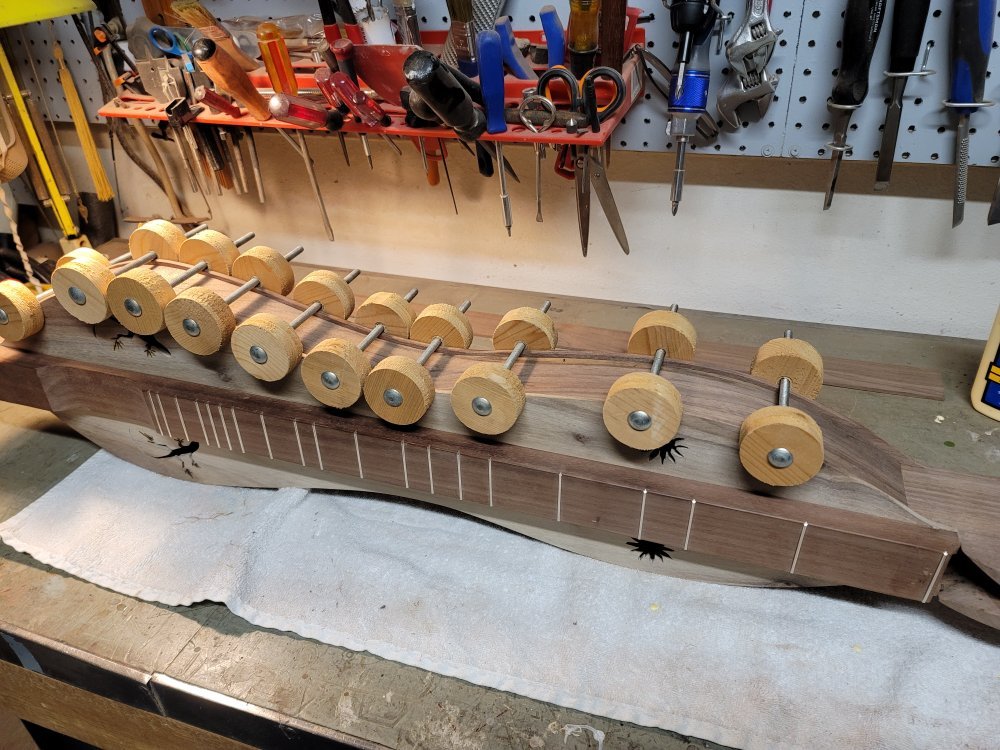
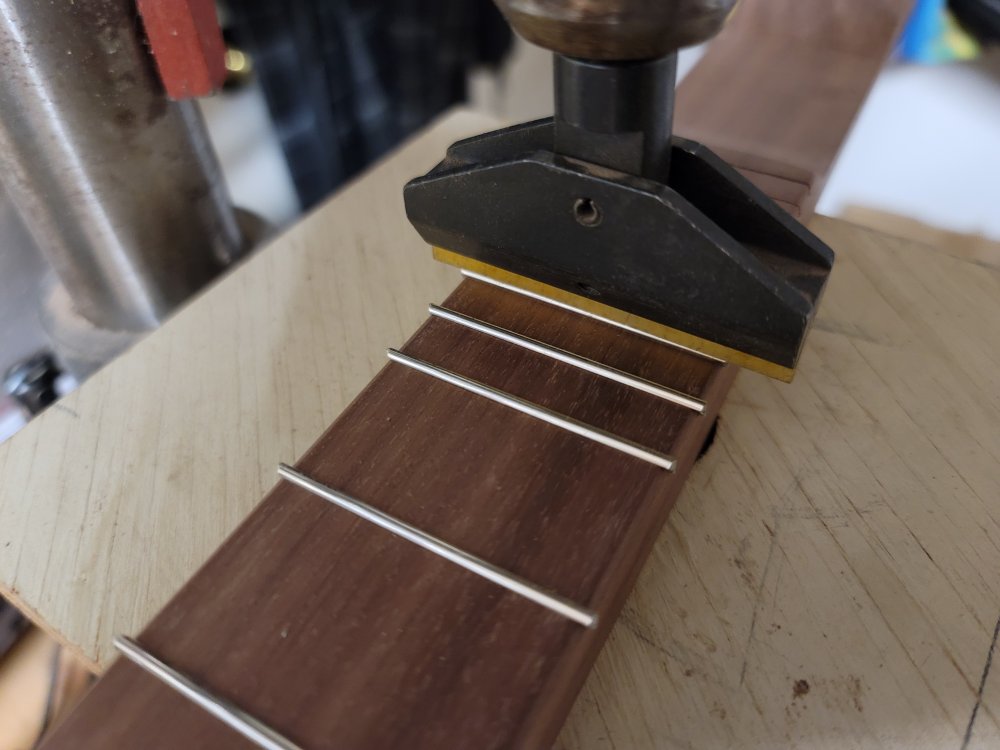
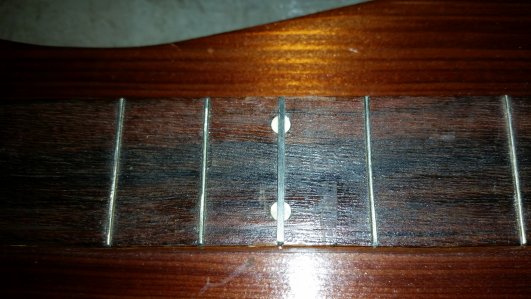
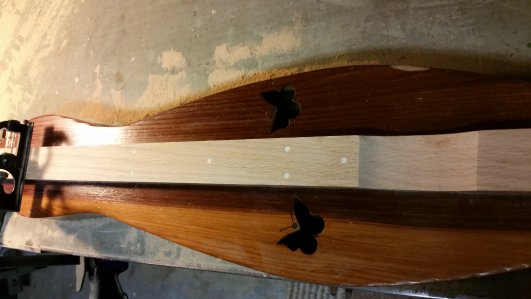
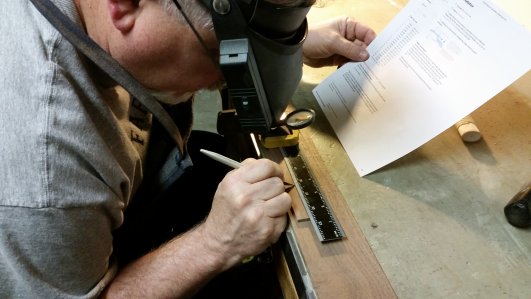
The frets are placed based on the scale length.
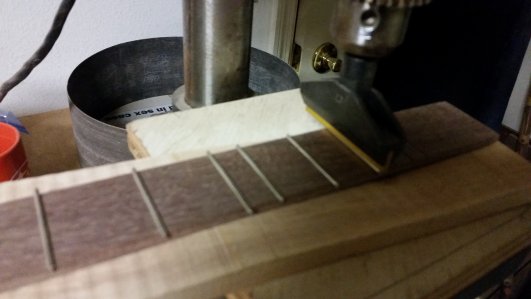
The frets are cut to length and pressed into the fingerboard.
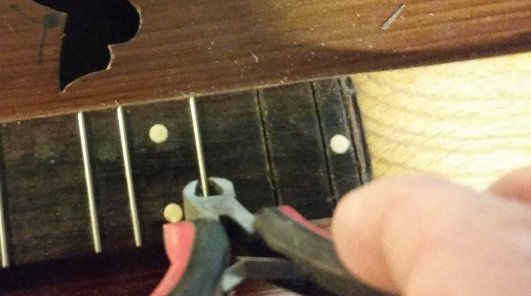
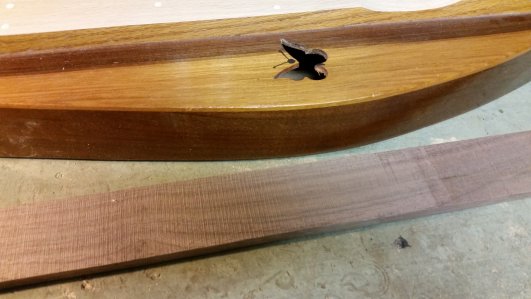
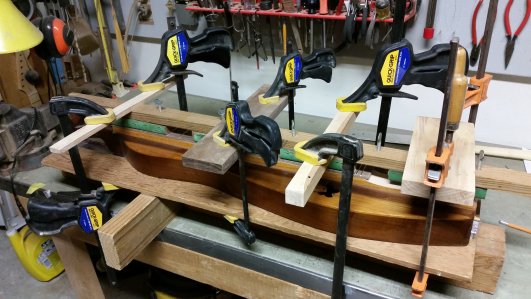
The frets are trimmed and the fingerboard is glued onto the fretboard.
One of several coats of polyurethane is applied.

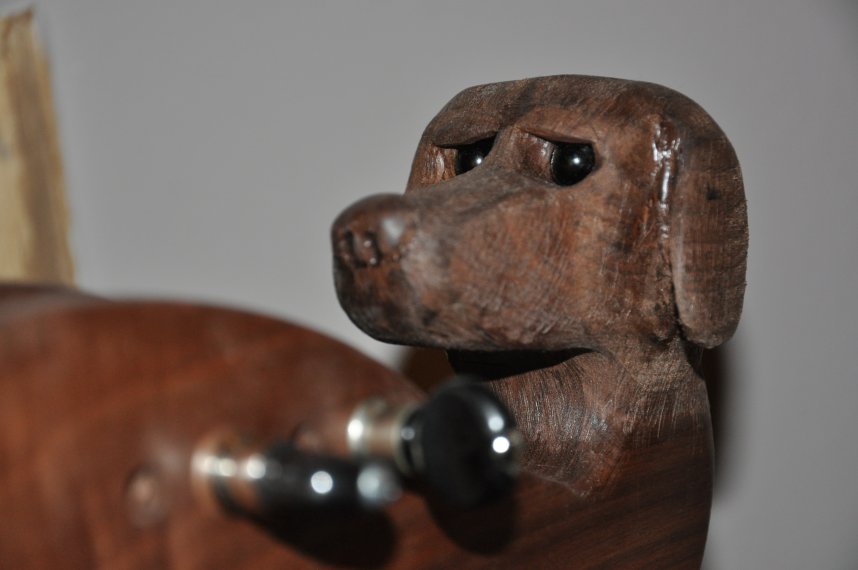
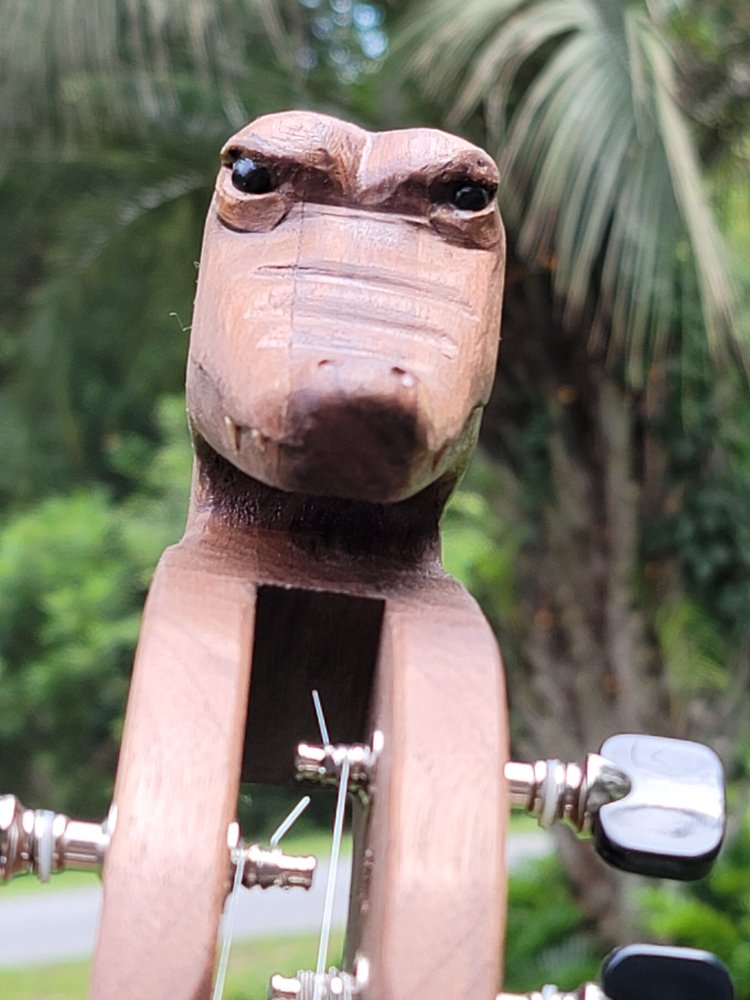
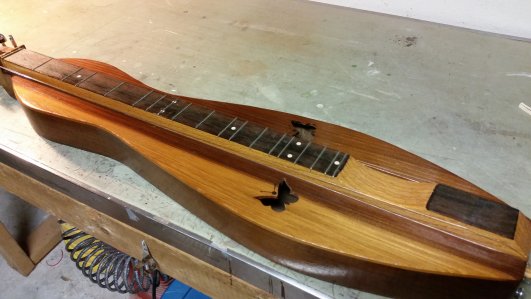
Add strings, and this one is complete.