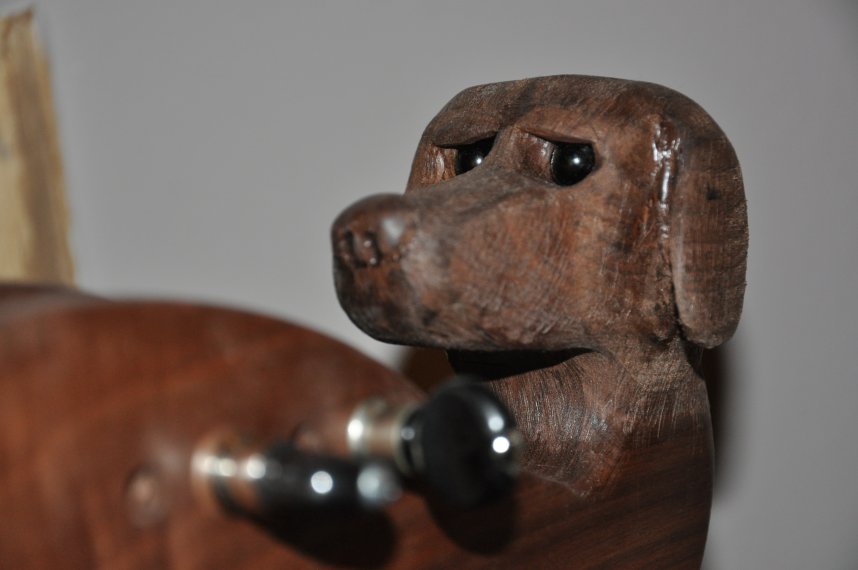
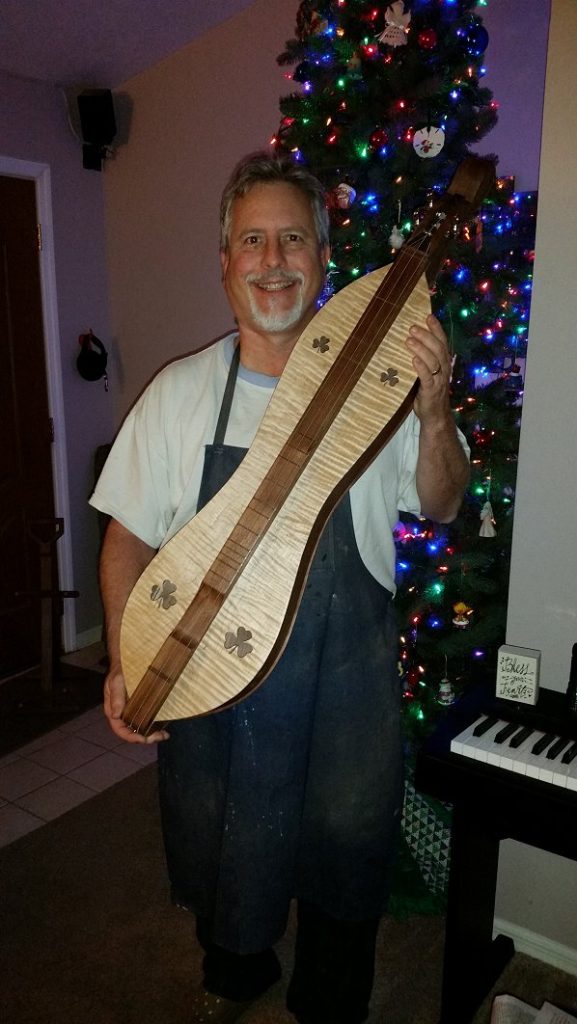
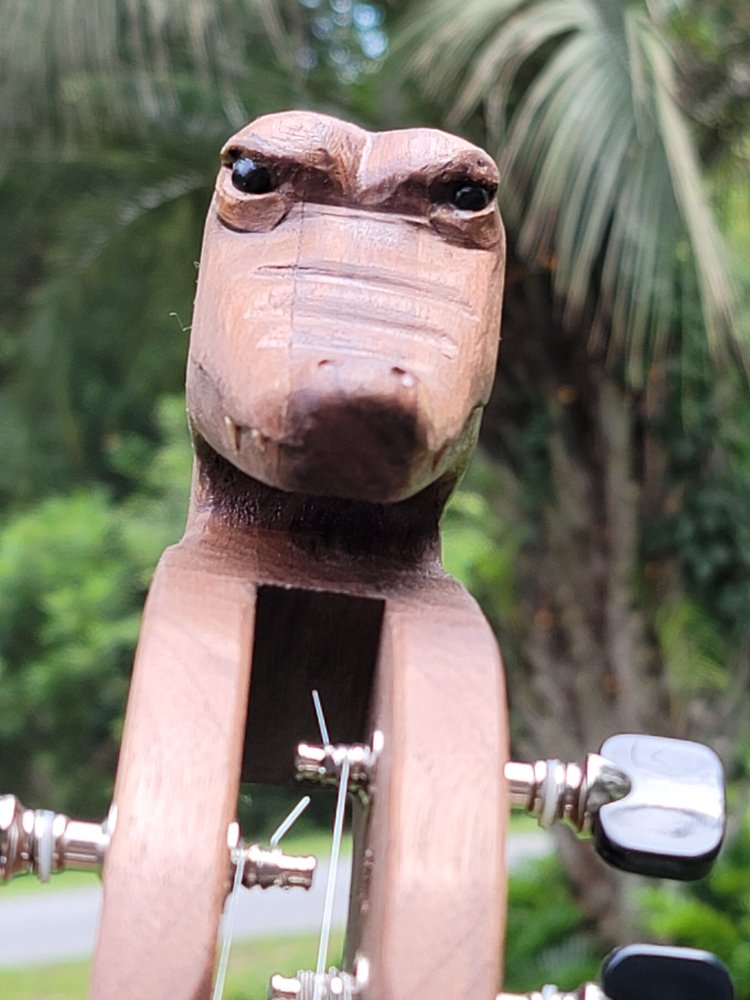
From time to time, I am asked to do some dulcimer improvement or repair work. For the most part, this will involve procedures such as adding a 6 and-a-half fret, fixing a buzz in a fretboard, or even creating a new fingerboard.
I will take on most of these jobs if I feel confident that I can affect the repairs without glaring changes of the basic structure of the instrument. I feel that creating a dulcimer is, first and foremost, an art form and a reflection of the builder’s eye, expertise, and passion. Nevertheless, it’s important that the instrument can be actually played; not relegated to “wall art”.
In May, I was contacted by Mike, the owner of a local clock repair shop, about restoring a “Lucky Diamond” dulcimer. I was curious, and of course was keen to accept a challenge.
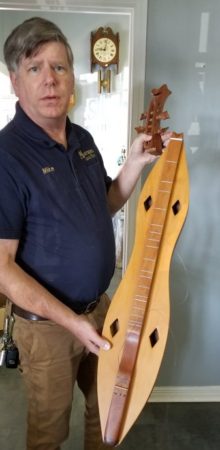
It turns out that this is a somewhat famous instrument with an interesting history. Lucky and Louise Diamond were furniture builders in Maryland who began building fine dulcimers back in the early 1970’s. Their dulcimers were specially designed to be loud enough to hold their own while jamming with other instruments. In conducting my research, I found several excellent references referring to the Diamonds, their creations, and their lifestyle. One was a Washington Post article that appeared in 1978. Another one was an eBay listing for a Diamond dulcimer with fascinating eye-witness accounts of experiences with the Diamonds culled from some forum postings.
The damage to the dulcimer is obvious. Mike said that it was leaning against a wall and got knocked over accidentally, snapping off the peg-head. This apparently happened years ago, but once he found out about me (through a mutual friend) he decided to see if it could be restored. What makes this extra-special is the builder’s info written on the inside, which includes “Built for Mike” and the date 1977. That also means this dulcimer was built only a year after I created my first one.
Restoration
I couldn’t start work on the Diamond dulcimer immediately, but eventually I carved out some time to devote to the project.
This wasn’t going to be easy. The peg-head must be rock solid — otherwise, the tension of the strings may supply enough force to pop it back off, or at least prevent the strings from holding a pitch. Contributing to the problem (and the reason for the clean break in the first place) was a design flaw–the peg-head was attached to the body by an internal block of wood whose grain ran from side-to-side rather than from the peg-head into the body.
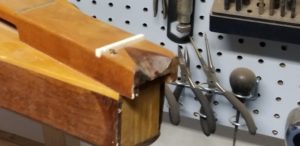
I always try to preserve the original integrity of an instrument which means that I hesitate to employ any corrective shaping or additional coat of finish (that may or may not match). This necessitated that I glue the peg-head in exactly the right place. I surmised that some sort of dowel was needed to reinforce the peg-head. To match it up perfectly, I drilled one hole and filled the hole with cotton. Then, I saturated the cotton with ink and correctly aligned the pieces together. I then drilled out the resulting mark.
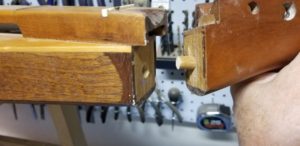
My first attempt used a half-inch dowel and regular wood glue, and was not nearly strong enough. I did not own forstner bits, but realized that’s what I needed in this situation. I also acquired the strongest glue I could find: JB Weld epoxy.
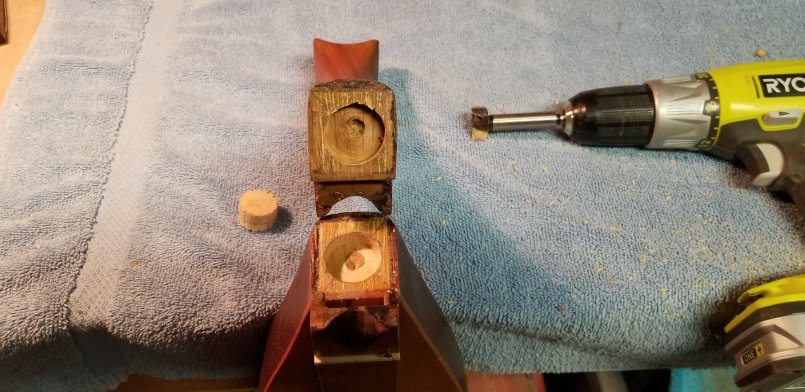
Once again using the cotton/ink procedure, I drilled out a 1″ hole and prepared the larger dowel.
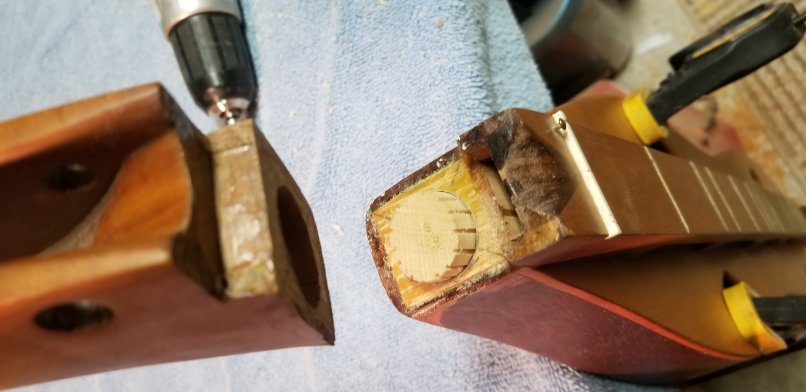
I carefully slathered on the epoxy and secured the pieces together.
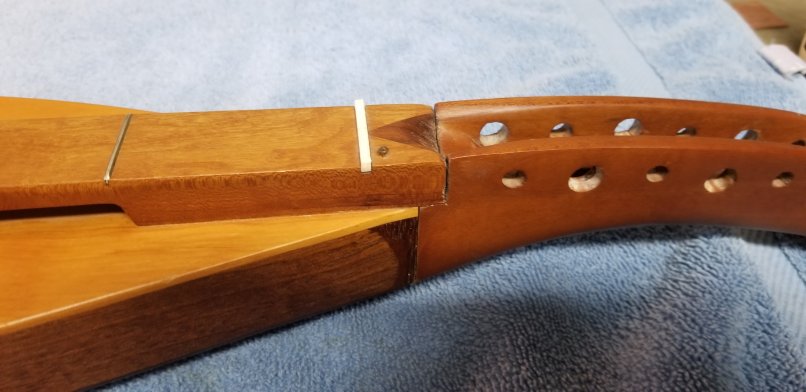
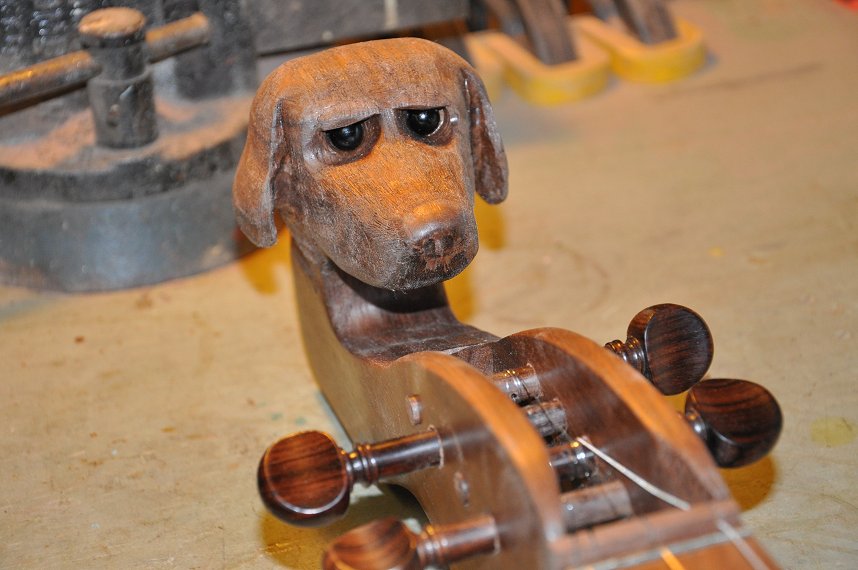
Notice in this picture that there are holes for six pegs. This dulcimer is technically a deluxe six-string instrument (three-strings doubled), but it came to me with only four pegs. This is just as well, since I needed to minimize the string tension to help preserve the repair.
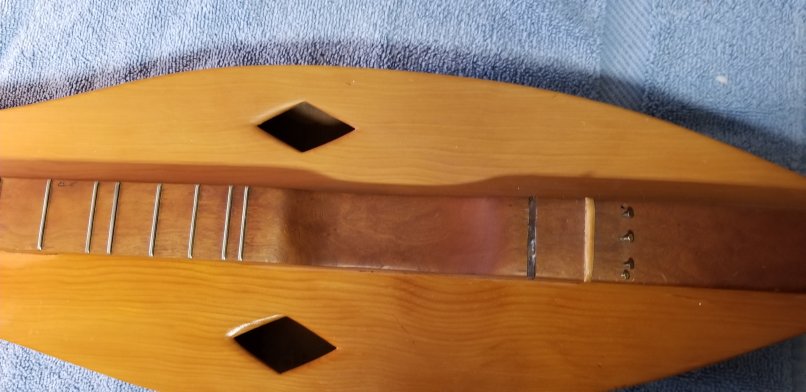
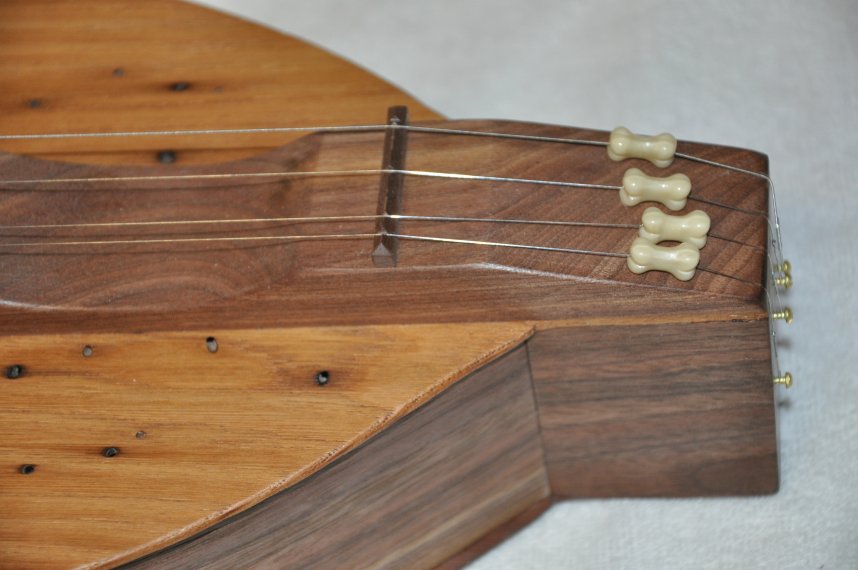
The dulcimer also was missing its bridge. After fabricating a bridge and adding four new strings, she was once again ready to make some music.
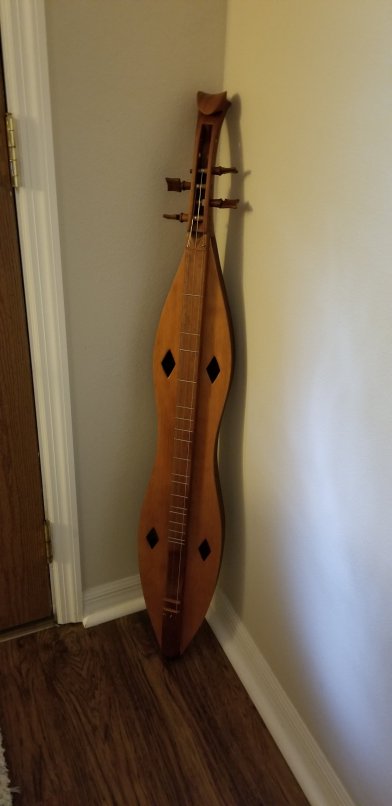
So, as cool as this was, it soon began to get way cooler. I received these comments shortly after completing this work, and several years later:


